I’ve become that mom. Probably not the one you are thinking about right now. But I am probably that one too.
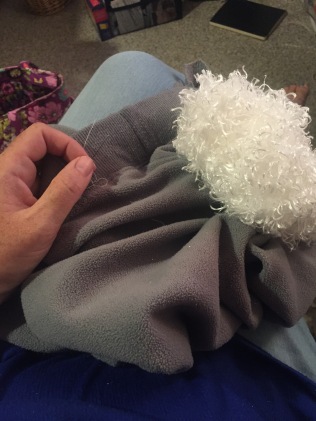
Tonight I spent a little while sewing fluffy fabric on to thrift store sweatpants to make a… costume. Our foray into the theater has begun. And with it comes a lifetime of making costumes (or so I believe). And I don’t mind one bit.
The thing I love about my 8-year-old is that she makes up her mind and doesn’t falter. She is a Lost Girl in a Peter Pan rendition this week and wanted a gray outfit to match the ear headband we have. Gray. With fur everywhere. Preferably real fur.
I compromised with her by telling her we’d find fuzzy pants. And make a tail.
And so we did. In a miracle beyond miracles, we went to one store and found exactly what we were looking for. And in the second store we found exactly what we were looking for.
And here I sit, sewing on a fluffy, shedding, sheep tail. Way too late in the evening and I know that she will love it. And she will have the best time.
And this won’t be the last time I sit here sewing.